Account Set Up:
You will receive two emails once your student has set you up as an Authorized User. One will provide you with your username (your email address) and the other will provide you with your password.
- Click on the link https://payment.onu.edu/c21185_tsa/web/login.jsp
- Enter your email address and password from the two emails received.
- Click Login. This will prompt you to change your password.
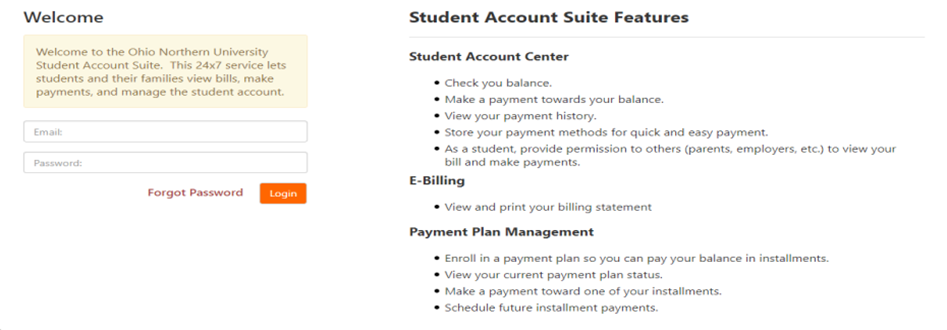
- Enter Your Full Name
- Create your New password and confirm that password.
- Click Save
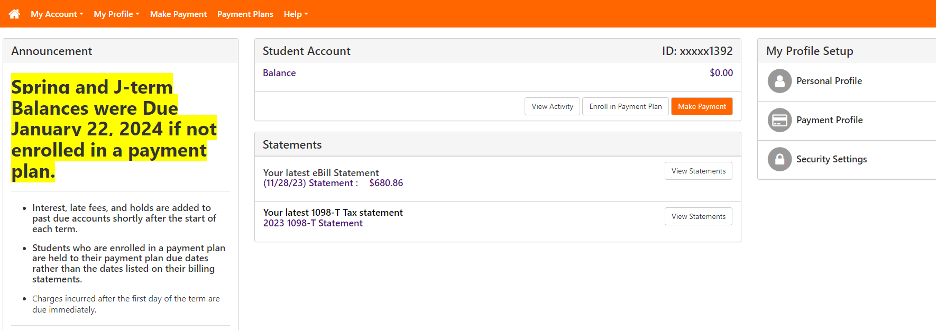
Home Page:
From the Home Page you can view statements and the current balance due.
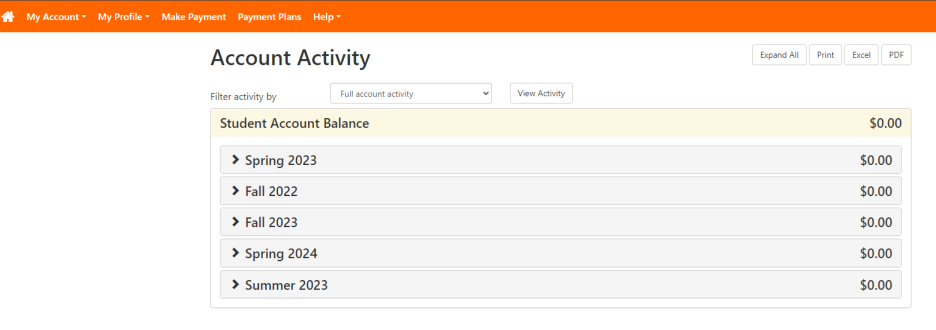
My Account:
From this menu Authorized Users can view Account Activity, Statements, and Payment History.
Account Activity
- This screen allows you to view transactions by clicking on the arrow beside each term.
- Estimated Financial Aid and Account Activity will also display on this page.
Statements
- The Billing Statement tab allows you to view all of your student’s billing statements.
- The 1098-T Tax Statement tab allows you to view all 1098-T tax forms that your student has received.

Payment History
- This screen allows you to search your payment history by date range and payment type.
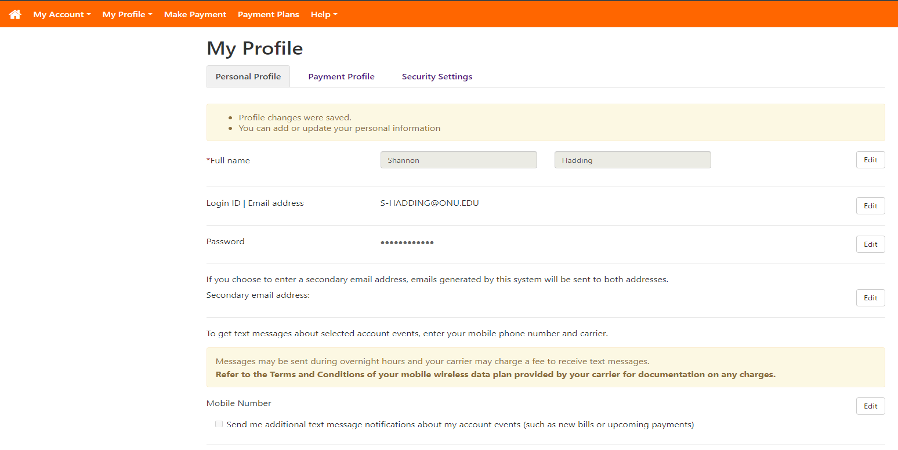
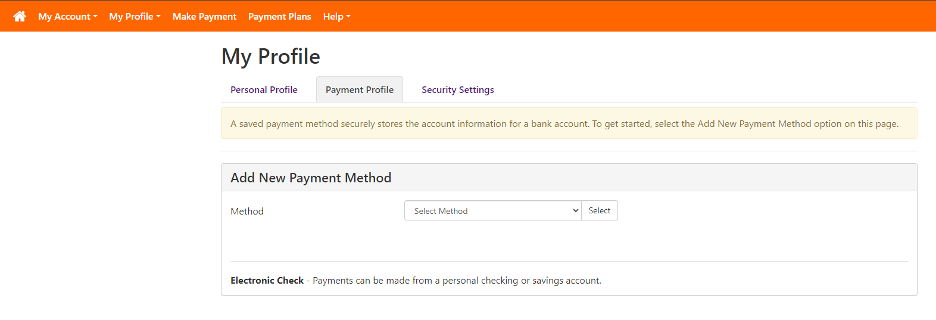
My Profile:
This screen allows you to change your password or set up saved payment methods.
Personal Profile
- This tab allows you to change your password and set up text notifications
Payment Profile
- This screen allows you to add saved payment methods
To add a Payment Method
- Click on the drop-down menu and select credit card or electronic check
- Enter your credit card or bank account information
- Click Continue
Make Payment:
From this screen you can view the balance or make a payment.
To Make a Payment
- Type in the amount you want to pay and click Add.
- Click Continue
- Follow the prompts to select your payment method and enter either your credit card or bank account information and confirm your payment.

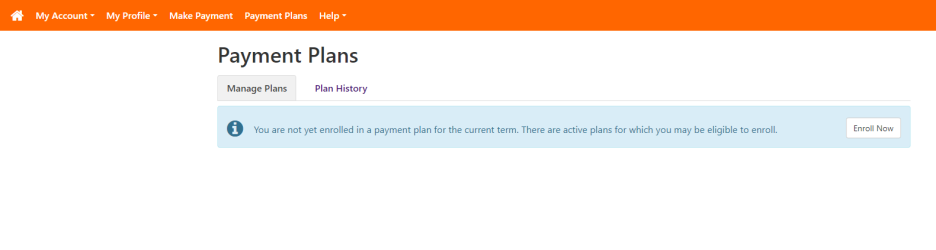
Payment Plans:
This screen allows Authorized Users to set up a Payment Plan.
To Set up a Payment Plan
- Click Enroll Now
- Next you will be prompted to select the term you want to set up the payment plan for (Please note that a new payment plan must be set up for each semester)
- Then you will be prompted to select the Payment Plan you wish to use (Plan options include Monthly or Bi-monthly payments)

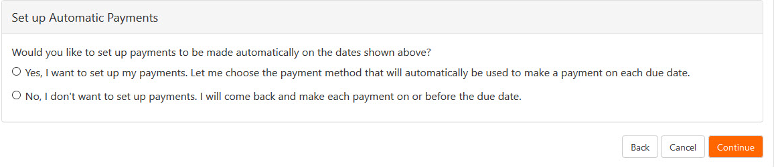
- Review your payment schedule and decide if you want to set up auto payments. (If you want to set up auto payments, follow the instructions given to set up the payments.)
- Click Continue
- Select your Payment Method from the dropdown box and click Continue.
- Review the Payment Plan agreement and click I agree to the payment plan agreement.
- Click Continue
- Once you have agreed to the terms of the payment plan you should be sent an email confirmation that will list your payments and due dates.